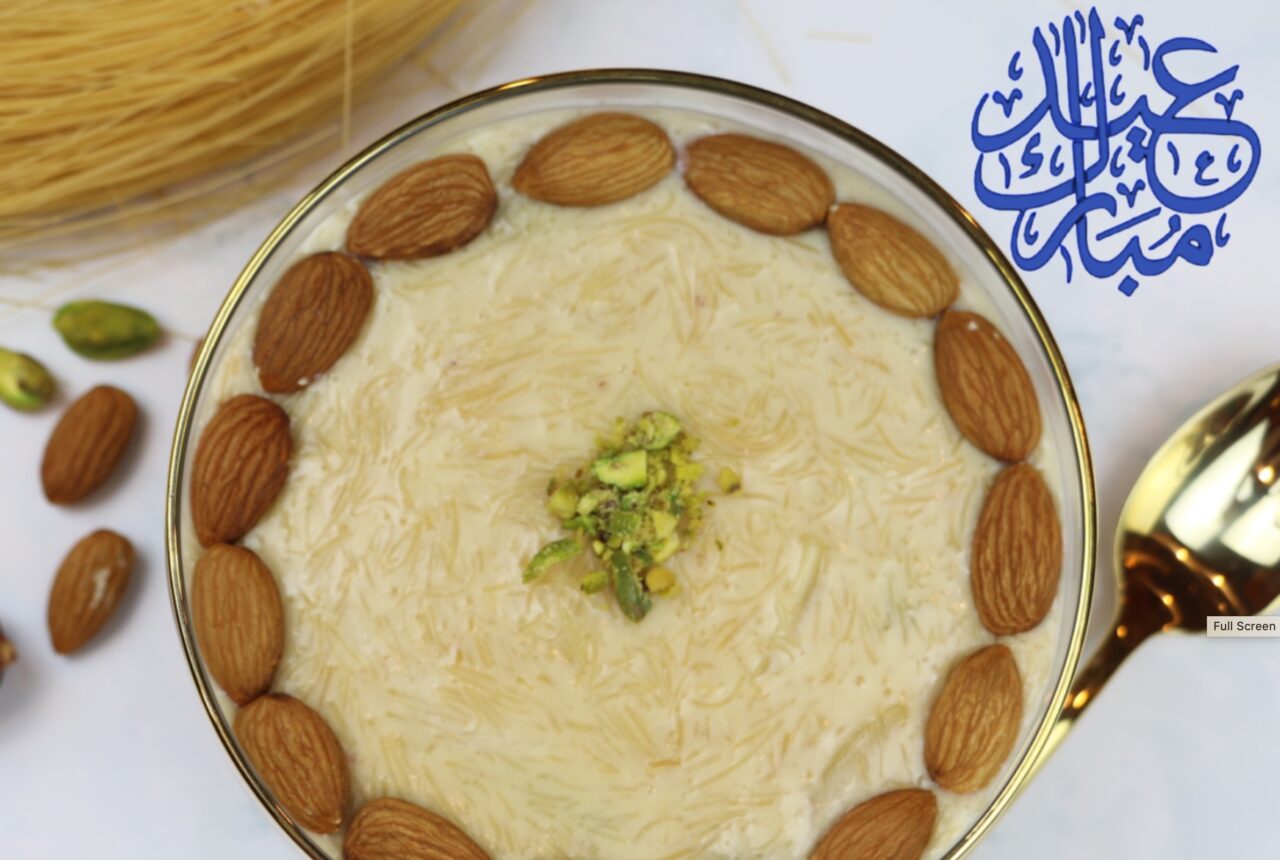
The Easiest Instant Pot Kheer Recipe
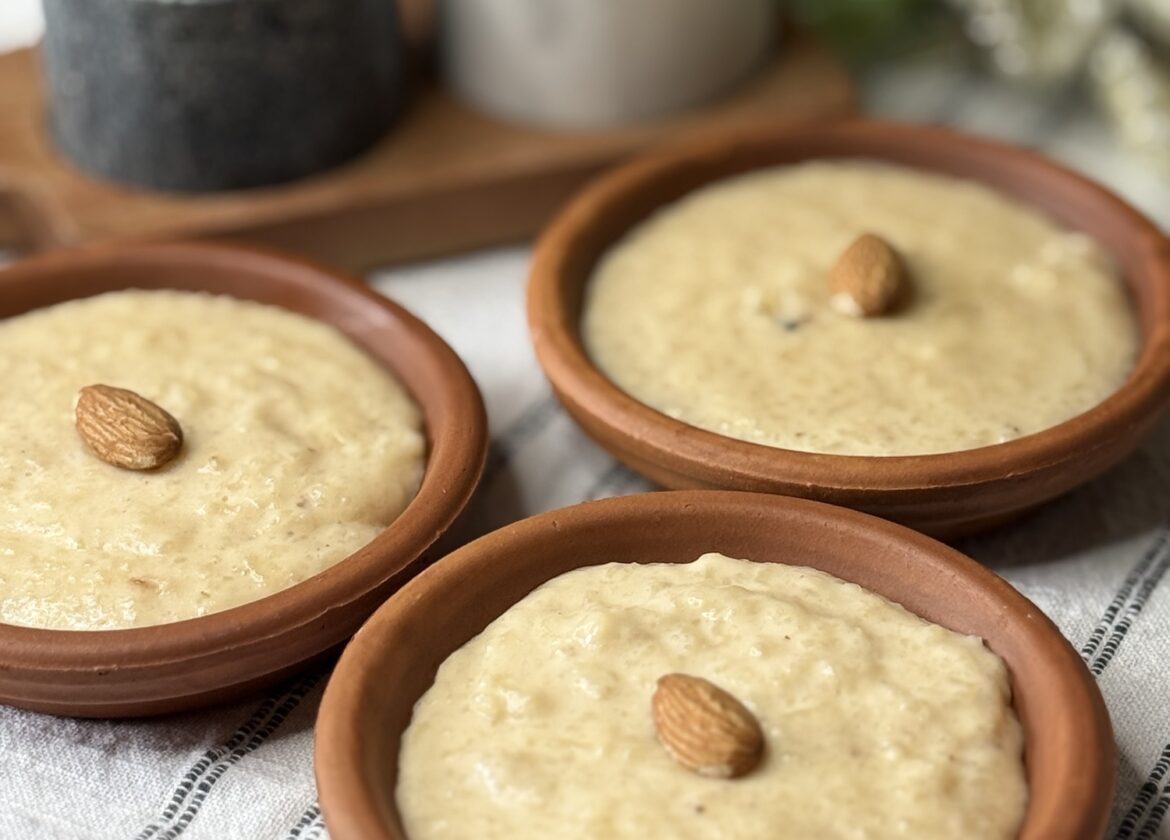
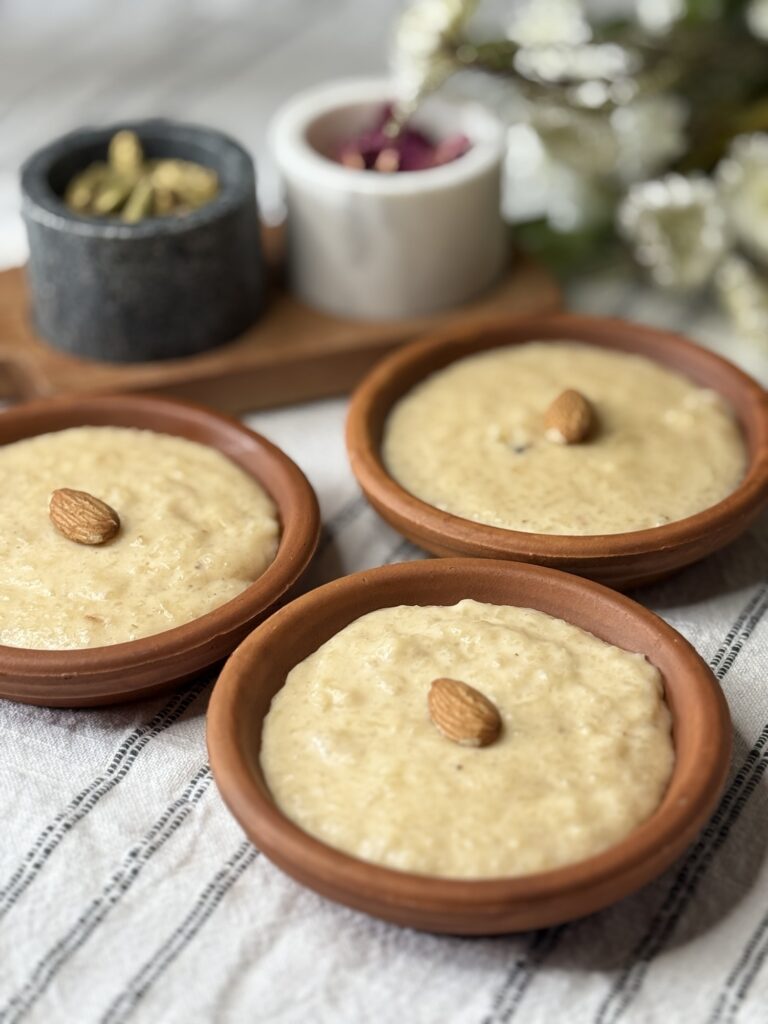
Kheer is one of those desserts that feels like home. Whether it’s Eid, a family dinner, or just a random craving on a weeknight — kheer always hits the spot! Rich, creamy, fragrant with cardamom, and topped with nuts — there is really nothing like a good bowl of Pakistani kheer.
Traditionally kheer is made on the stovetop and requires a lot of stirring and patience. But I have been making it in the Instant Pot for a while now and honestly I will never go back! The Instant Pot does all the work, you get the same creamy, authentic result, and it is ready in a fraction of the time. This is the recipe I make for Eid, for guests, and whenever my family is craving something sweet — and it never fails!
The Best Instant Pot Kheer Recipe – Easy & Creamy
Why You’ll Love This Recipe
- No need to stand by the stove for hours. The Instant Pot does all the work!
- The pressure cooking method ensures perfect consistency without constant stirring.
- ust a handful of pantry staples create this delicious treat.
- Customize it with nuts, saffron, or rose water for extra flavor.
Storing
- Store in an airtight container in the fridge for up to 3–4 days
- Kheer thickens in the fridge — stir in a splash of warm milk and mix well before serving
- Serve cold straight from the fridge, or warm gently on the stovetop or microwave
- Not recommended to freeze as the texture changes once thawed
Looking for more Eid desserts? Try these Recipes
FAQS
- Can I make kheer without an Instant Pot? Absolutely! Cook on the stovetop in a heavy-bottomed pot on low heat, stirring frequently, for 45–60 minutes until the rice is fully broken down and the milk has thickened. The result is equally delicious — it just takes more time and attention.
- Can I use regular sugar instead of condensed milk? Yes — use ½ to ¾ cup of sugar to taste and replace the condensed milk. However condensed milk gives the kheer extra creaminess and a richer flavor that is hard to replicate with plain sugar alone.
- What rice is best for kheer? Basmati rice is traditional and gives the best flavor and texture. Any long grain rice works well. Avoid short grain or parboiled rice as they do not break down the same way.
- Why is my kheer not thick enough? Kheer thickens significantly as it cools — so do not worry if it looks thin right out of the Instant Pot. If you want it thicker right away, use the Sauté mode for a few extra minutes while stirring. It will also thicken in the fridge.
- Can I make kheer ahead of time? Yes! Kheer is actually better the next day as the flavors develop overnight. Make it a day ahead, refrigerate, and stir in a splash of warm milk before serving to loosen it up.
- Can I freeze kheer? It is not recommended — the texture of the milk and rice changes when frozen and thawed. Kheer is best enjoyed fresh or within 3–4 days from the fridge.
- Is kheer the same as rice pudding? They are very similar! Kheer is the Pakistani and Indian version of rice pudding, flavored with cardamom, nuts, and sometimes saffron or rose water. It is richer and more aromatic than Western style rice pudding which is typically plainer.
The Best Kheer Method in Instant Pot
Equipment
Ingredients
- ½ cup rice Basmati or any long-grain rice, soaked for 15-20 minutes and washed
- 4 cups whole milk for a rich, creamy texture
- 1 can 14 oz sweetened condensed milk (adjust for sweetness preference)
- 3-4 cardamom pods lightly crushed for a warm, aromatic touch
- ¼ cup chopped nuts almonds, pistachios, or cashews
- 1 tbsp raisins optional, for added sweetness
- 1 tsp rose water or saffron strands optional, for a luxurious touch
Instructions
Step 1: Cook the Rice in the Instant Pot
- Add soaked rice, whole milk, and cardamom pods to the Instant Pot.
- Close the lid, set the Porridge mode for 20-25 minutes on high pressure.
- Allow the Instant Pot to cook while you relax!
Step 2: Sweeten and Add Flavor
- Once the cooking time is up, allow a natural pressure release for 10 minutes, then manually release the remaining pressure.
- Open the lid, stir in sweetened condensed milk and mix well.
Step 3: Adjust the Consistency
- If the kheer is too thick, stir in a little warm milk to loosen it up.
- Press Sauté mode and simmer for a couple of minutes if you prefer a thicker consistency.
Step 4: Garnish and Serve
- Add chopped nuts, raisins, saffron, or rose water for extra richness.
- Serve warm or chilled, depending on your preference.
Serving Suggestions:
- Warm and Fresh – Enjoy straight from the pot for a comforting, creamy dessert.
- Chilled and Thickened – Let it cool and refrigerate for a few hours for a richer texture.
- Topped with Extras – Garnish with extra nuts, saffron, or a drizzle of ghee for a decadent twist.
Video
Notes
- Soak the rice for at least 15–20 minutes before cooking — this helps it break down faster and gives the kheer a creamier texture
- Use whole full fat milk for the richest, creamiest result — low fat milk makes it watery
- Condensed milk adds sweetness and creaminess — start with one full can and adjust to taste. Add more for a sweeter kheer
- The kheer will thicken as it cools — if it gets too thick, stir in a splash of warm milk before serving
- For a more traditional look, crush a few of the cooked rice grains with the back of a spoon after pressure cooking — this thickens the kheer naturally
- Cardamom pods can be removed before serving or left in — warn guests if leaving them in!
- For Eid or special occasions, add a pinch of saffron soaked in 2 tbsp of warm milk — it gives the kheer a beautiful golden color and luxurious aroma
- Rose water is lovely but use it sparingly — a little goes a long way
Tried this recipe?Mention @itstastybygohar or tag #itstastybygohar